2-min read
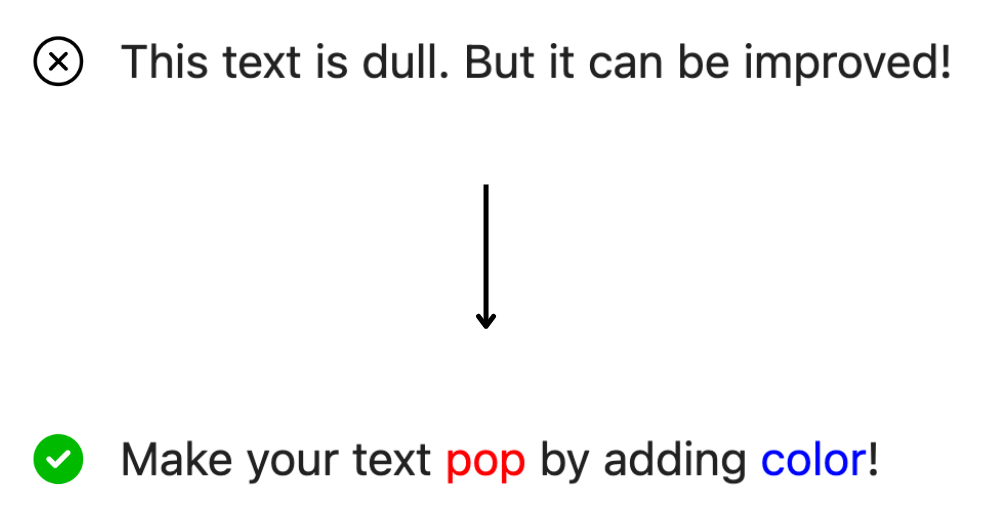
An effective way to make your Jupyter notebook documentation stand out is by changing the color of text.
The following steps show you how to easily do it in HTML.
Icons source: Close icons created by inkubators – Flaticon and Yes icons created by hqrloveq – Flaticon
The color of this text is <span style="color: red">red</span>Want to go deeper? Read on ↓
Step 0: Enter Markdown Mode
You need to use HTML to change text color. And before you can use HTML, the cell you’re working in needs to be in Markdown mode (opposed to Code or Raw mode). Chances are the cell is in Code mode by default.
Here’s how to get into Markdown mode: Select your cell → on the top toolbar click the drop-down menu that says Code ∨ → select Markdown
- For a step-by-step walk-through plus useful keyboard shortcuts, see this guide on changing a Jupyter cell to Markdown mode.
Step 1: Wrap your Text in Code
The following is the basic code structure for setting text color:
The color of this text is <span style="color: red">red</span>What does the above code do?
Wrap <span style="color: red"> </span> around the text you want to change the color for.
- Any text inside the tag will have its color changed.
- Any text outside will be the default color.
- The important part is color: red which makes the text red
- Don’t want red text? You can change red to the color you want
Step 2: Specify the Color You Want (3 Ways)
You can specify the color with either:
- A regular name: “red”, “purple”, etc
- A hex code: “008000” (which is green), “FF7708” (orange), etc.
- This way gives you more flexibility
- Here’s a helpful resource for finding hex color codes
- An RGB code: “rgb(255, 0, 255)” (pink), “rgb(188, 108, 37)” (brown), etc.
- This is also a flexible way
- Resource for finding RGB codes
Step 3: Putting it All Together
As an example, suppose we have this sentence and want to make the cities blue:
“Q2 Update – We opened new offices in Tokyo and Sydney and grew our Los Angeles headcount by 9%.”
Building off the code from above, we’ll put <span> </span> tags around the city names, using the regular color name “blue” for the color.
We’ll copy and paste the following code into our notebook:
Q2 Update – We opened new offices in <span style="color: blue">Tokyo</span> and <span style="color: blue">Sydney</span> and grew our <span style="color: blue">Los Angeles</span> headcount by 9%.Putting this code into Jupyter and running it:
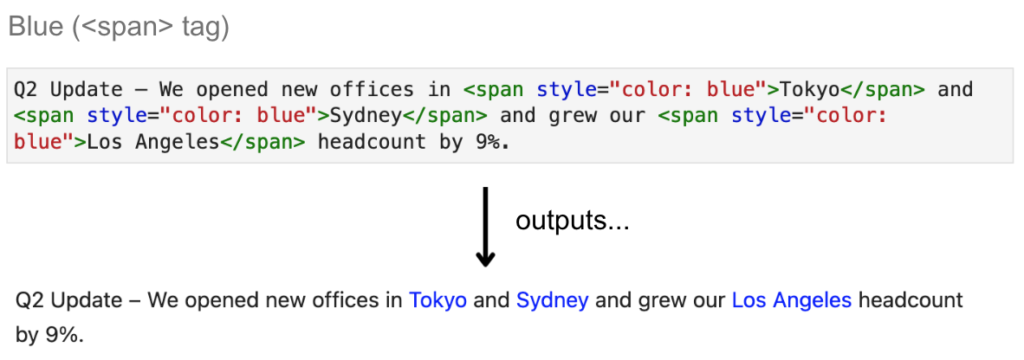
Now the cities stand out easily.
⭐ Bonus: Going a Step Further – Bolding Text for More Emphasis
If you’d like text to stand out even more, try bolding it.
You can do this with a quick change: Swap the <span> tag for a <b> tag. Easy!
Now the code has <b> tags:
Q2 Update – We opened new offices in <b style="color: blue">Tokyo</b> and <b style="color: blue">Sydney</b> and grew our <b style="color: blue">Los Angeles</b> headcount by 9%.Making this change turns the cities blue and bold:
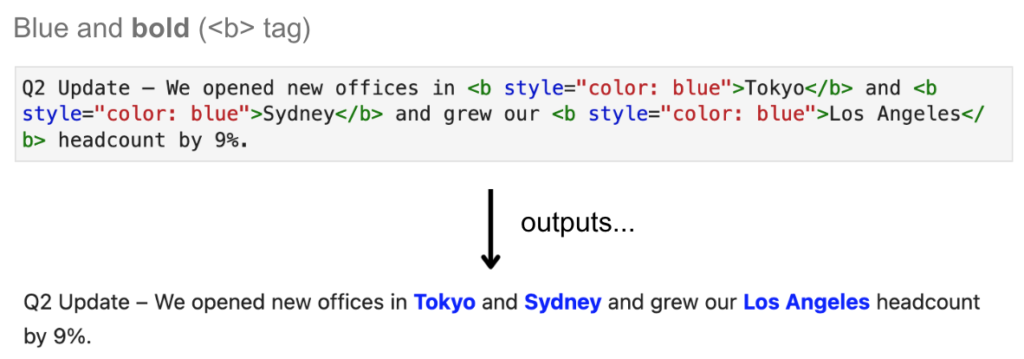
Now it’s even easier to spot the cities.
Summary
Changing the color of text is an excellent way to make your documentation stand out.
This guide showed you how to use HTML to change the color of text in your Jupyter notebooks. To recap: You learned…
- How to enter Markdown mode
- How to wrap your text in a <span> tag and use the style attribute to specify the color you want
- The different options for specifying color – a regular color name, a hex code or even an RGB code
Learn More
Want to make better notebooks? Read our other guides: